
With the new season just around the corner, I thought I’d share some pre-season preparation tips.
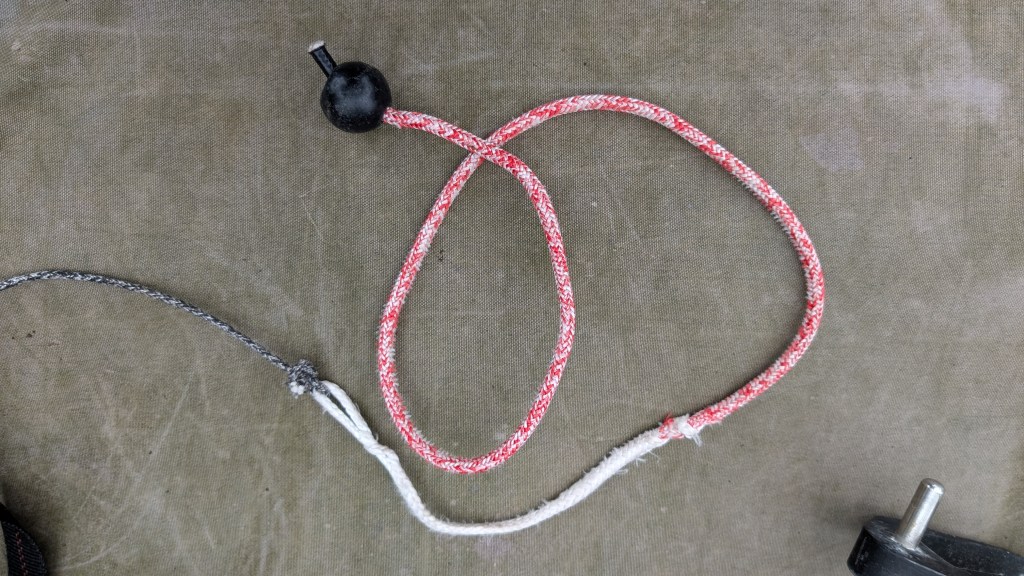
1. Replace the halyard or halyard top
If you’re an active RS Aero sailor, it’s probably a good idea to get a new halyard every season, or at a minimum replace the halyard top.
When the halyard top wears, it won’t hold so well in the mast top cleat. My halyard tail has broken a couple of times over the years, each time just below the knot or splice depending which halyard type I was using.
The halyward tail broke again recently – and since it was starting to slip anyway – I tried Sammy Isaacs-Johnson’s suggestion to use the Rooster RS Aero Halyard upgrade. This works a treat, holds tight, is easy to pull through the mast top bullseye and I was able to reuse the halyard tail.
2. Check the top mast cleat for wear and replace if necessary
If your halyard top is good and the sail is still slipping, it’s time to replace the mast cleat. This is an easy fix for someone handy with a rivet gun. Get the cleat from RS Sailing, make sure to get the correct rivets for the carbon mast.

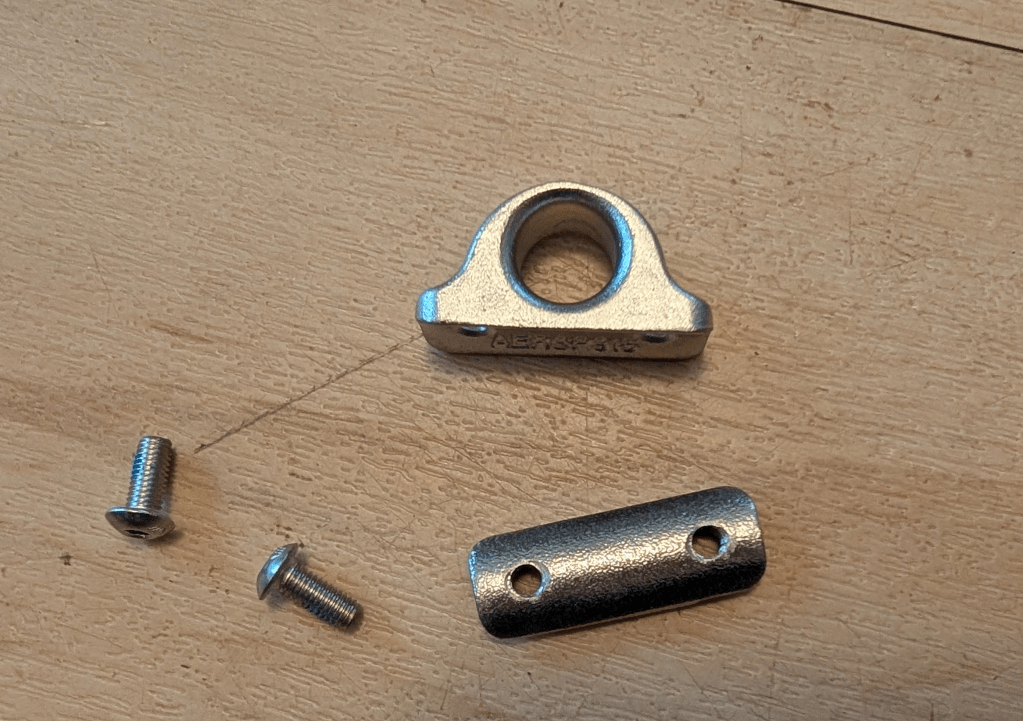
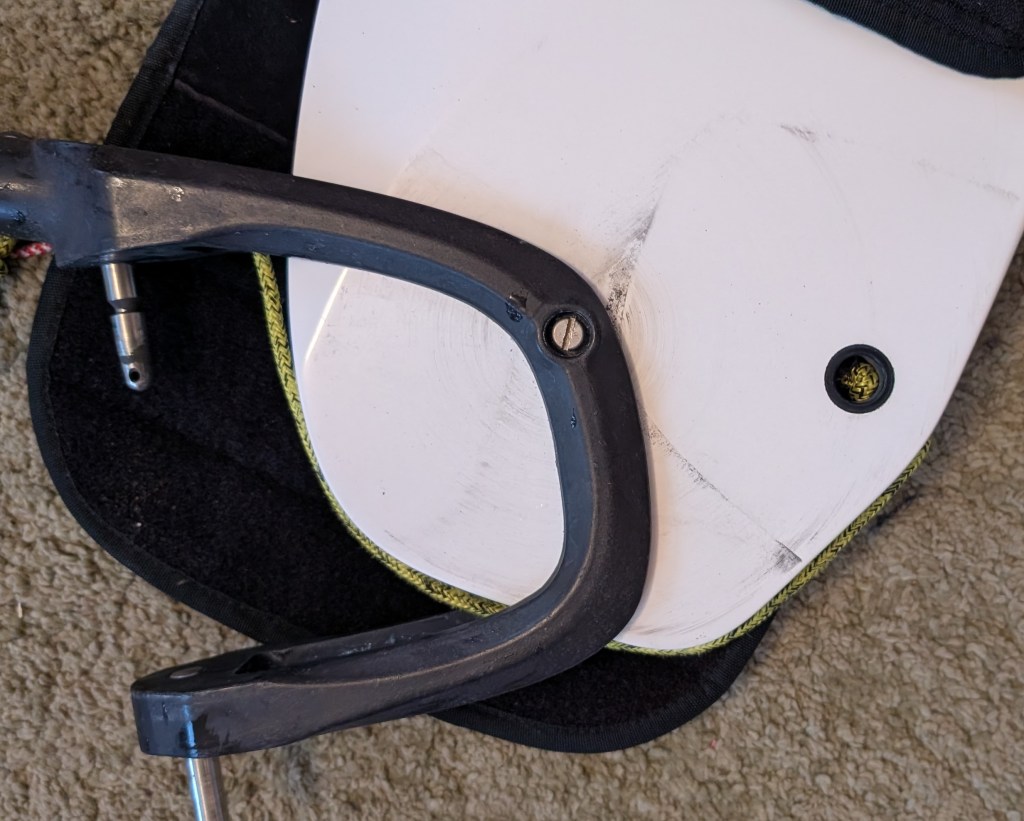
3. Check and replace the mast top bullseye if necessary
Mine which is the V1 part looks like this currently, and needs replacing.
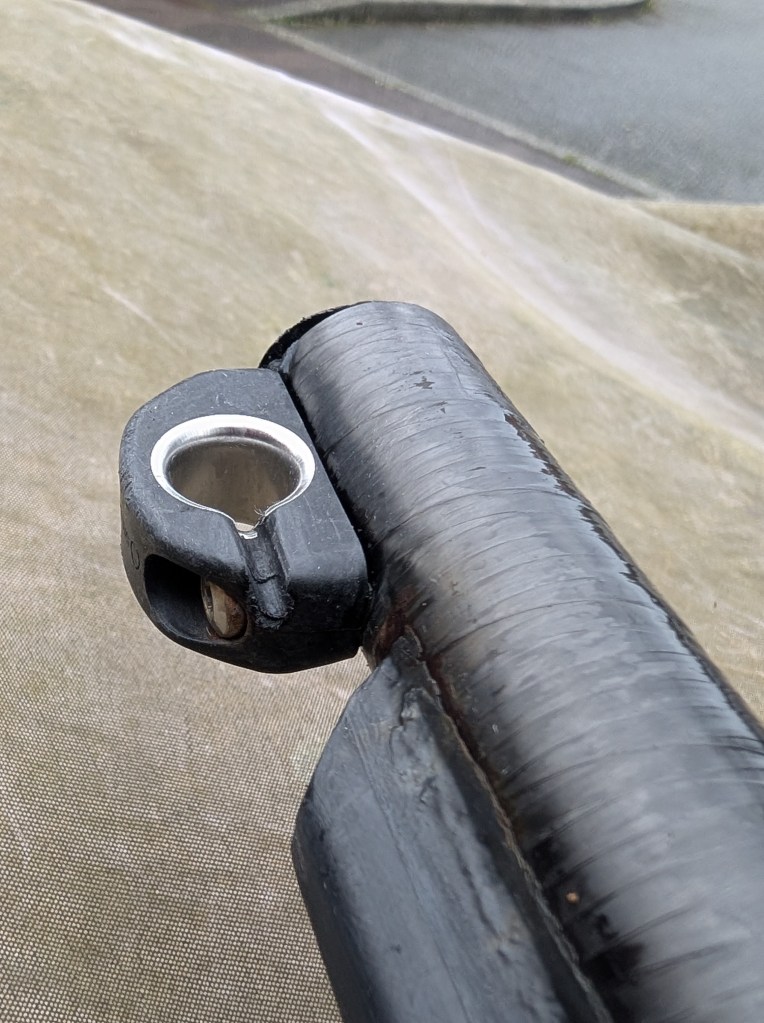
I picked up the V2 part from RS Sailing last week and it looks much stronger and is easy to fit.
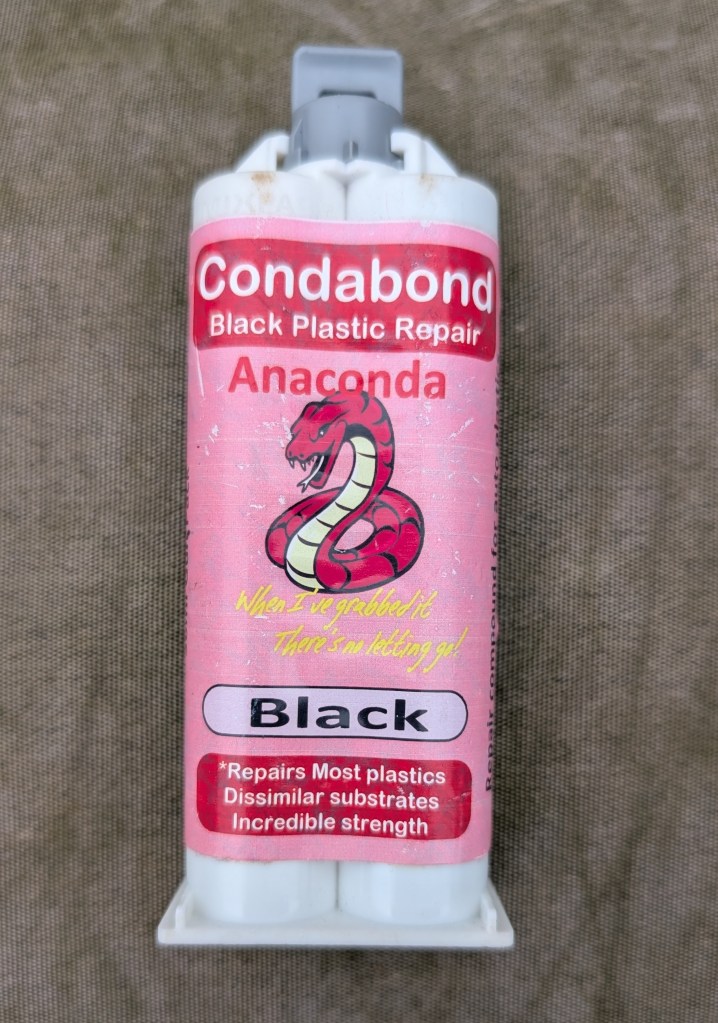
4. Check the mast track and fix any cracks
The mast track can get cracks at the end of the spars, I have a small one on my mast top piece.
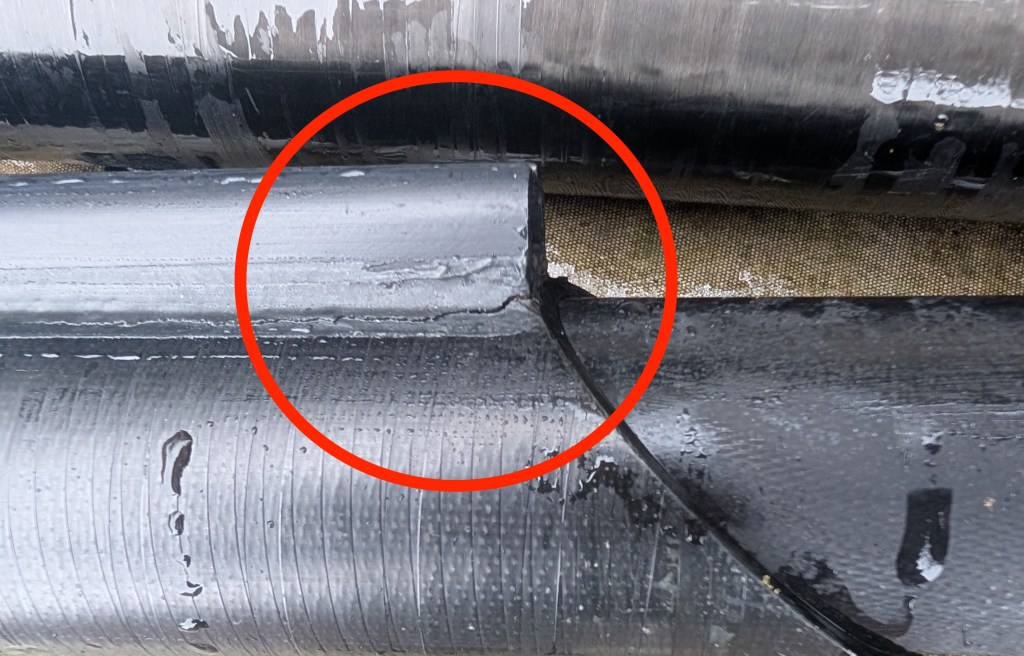
Condabond black plastic repair can be used to fix cracks like that. This stuff was used when my 7 rig mast track was professionally replaced after I dropped the spar and broke a chunk out of the track :(.
5. Check and replace tell tales if necessary
At day one of the last RS Aero 7 nationals I attended, my top tell-tale on port got stubbornly stuck to the sail and wouldn’t move. That was super annoying because and it would have been an easy thing to check and fix.
6. Silicone spray the mast track
This is a good way to reduce friction and allow the sail to move up and down the mast track more easily, improving the cunningham.
Caution: this stuff is toxic. I wear a decent respirator and eye protection whenever I silicone spray anything, and be careful not to get it on things that need less friction. e.g. don’t accidentally get it on the cleats.
7. Check your rudder screw torque
It’s not a happy day when your rudder slams down onto concrete. Check the torque of the screw so that the rudder will stay safely up as you pull the boat around the boat park and slipways.
8. Check and replace your tiller extension joint if necessary
The beginning of any tear will mean a breakage when you don’t want it.
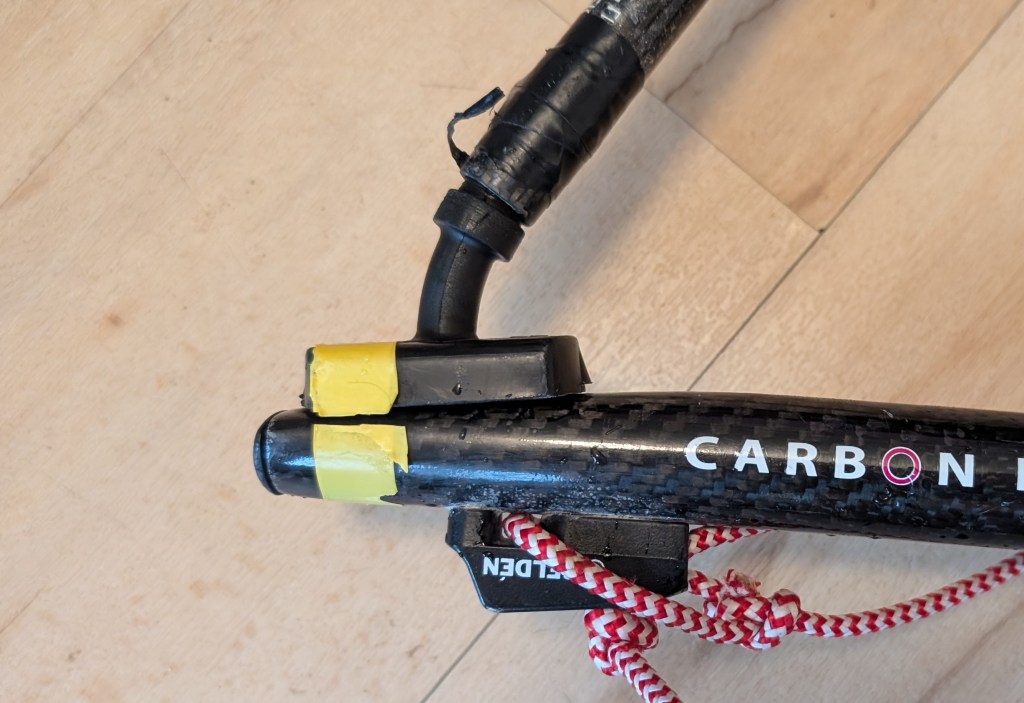
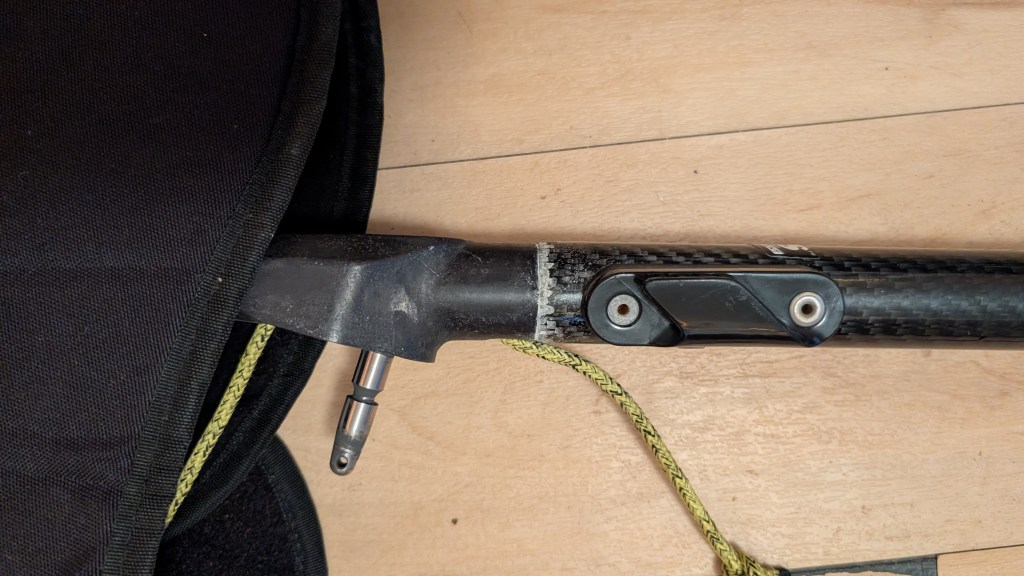
9. Check your tiller for splits
I’ve seen one tiller that was starting to swell and split at the fitting with the rudder stock (sea water corrosion). If that’s happening, the tiller will need replacing. I’d check in with RS sailing to see if just the tiller can be replaced or if the rudder stock + tiller needs completely replacing.
Tip: For sea sailors, rinse sea water off your rudder thoroughly, and ideally don’t leave it in the boat. This prevents any corrosion issues. I never leave my rudder in the boat any more, and store it at home in the dry.
This photo shows my rudder; a bit discolored but fine.
10. Check and clean/replace your mainsheet
The mainsheet can get hard and worn by the mainsheet ratchet over time. Cleaning it might help, but if it’s worn, replace it. I have different thicknesses of mainsheet for different wind conditions.
The 6mm (yellow) is a dream in light winds and the 8mm (blue) is easier on the hands in heavy winds.

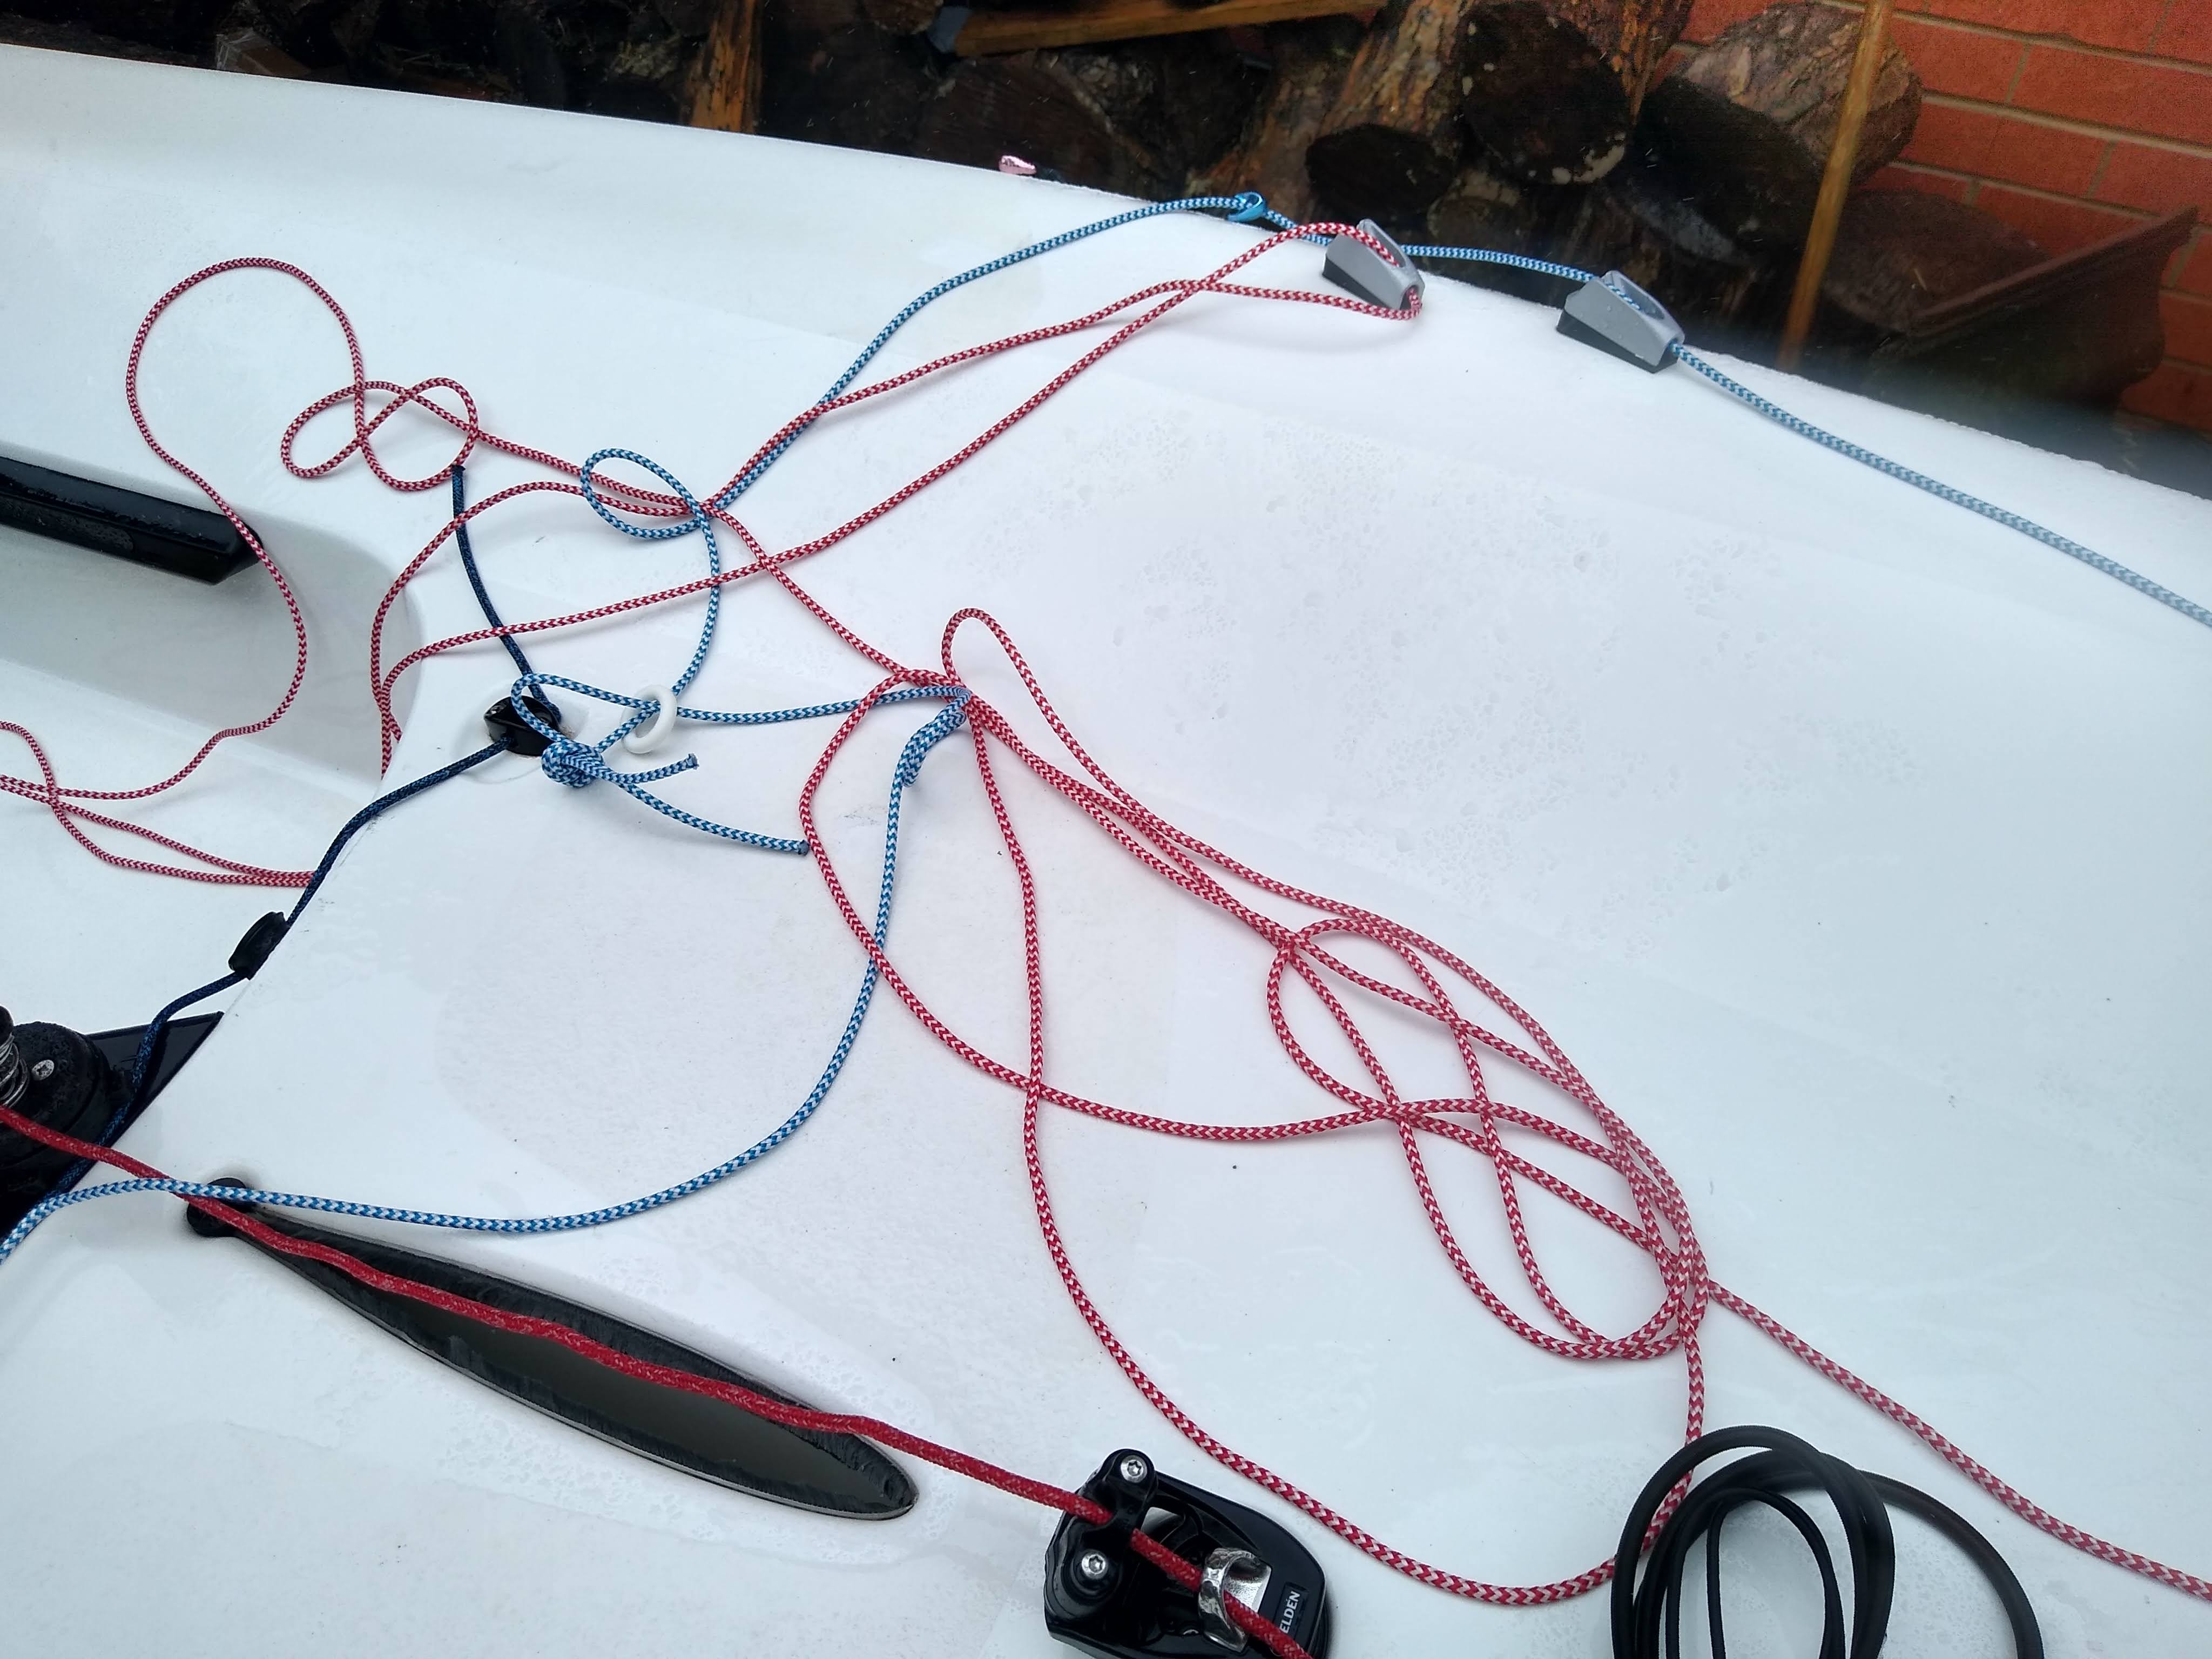
11. Check and replace control lines and deck cleats where necessary
Control lines get worn and harder with use, gripping less in the cleats, and running through the blocks less easily. The ends might become frayed too.
Tidy the frayed ends up, and replace the lines if necessary. It can be surprising just how much less friction there is through the blocks with new lines, all of which reduces tension and wear on the boat.
Rooster easy splice control lines are great and literally very easy to splice with minimal kit needed. Check out this how-to video from Steve Cockerill.
If the control lines are slipping in the cleats, replace them. It’s an easy fix.
My favourite on deck rigging system is Marc Jacobi’s, here’s a Youtube Video about that.
12. Check and replace your JC Strap shockcord
Replace the shockcord if it’s losing it’s elasticity, the max allowed thickness (class rules) is 8mm.
13. Stock up on basic spares
It’s never bad to have a spare kicker shackle, bung, and trolley wheel clip + washer. I also always have a couple of rolls of electrical tape to hand.
Even if you don’t need them, you might be able to help someone else out.
Related
Check out this RS Aero Upgrade article by Mark Riddington.
